Thursday 30 July 2015

A Capital View

What with the crazy Spring we had in the Quilt Matters household and not knowing what would happen with my mom's treatment, we didn't plan a trip out East this summer and well, didn't plan anything for the summer really. When she finished her treatment and things were looking good though, we decided to take the kids to Washington DC for a few days and visit some friends.

It was our first plane trip with all three kids and they were awesome. We had such a fabulous time visiting with our friends and introducing the kids to the U.S. national capital. The days were packed with museums and other sightseeing adventures (e.g. kayaking on the Potomac). What a beautiful city!

I thought I'd share with you some of the inspiration I found along the way.

Fair warning -- this is a very photo-heavy post and you won't see the White House or many common landmarks in these photos.

Some golden spirals...


Ironworks...


Brickworks...


A hidden grotto on Capitol Hill...


Funky sewer grates...


Star chart maps...


Rocket exhaust nozzle...


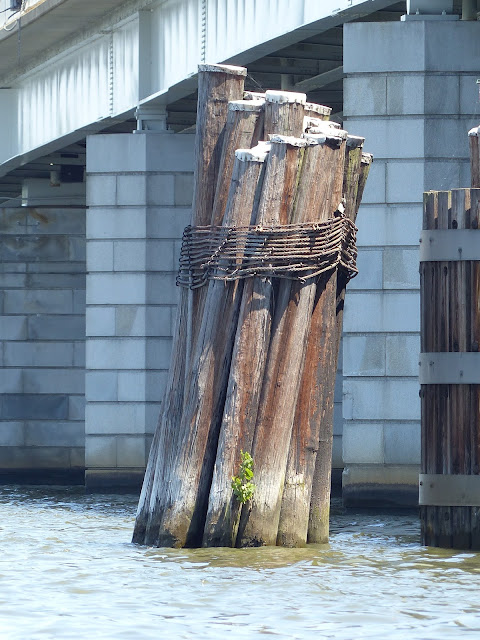
Pillars...


Old bridge...


On the Potomac by National Airport...


Electromagnetic Spectrum in stained glass...


C&O canal in Georgetown...


Cool foliage outside the Smithsonian Museum of Natural History...


Navigation routes...


Sandstone formation from Fontainebleau, France at the Museum of Natural History...


A rainbow of minerals...


City in stone...


Shark house...


Code?


Map of free press...


Cool plant...


You know I like ironwork...


Gryphon statue art nouveau-style...


The Washington monument isn't so big...


Abraham Lincoln signs his initials - A...


L...


Lunch visitors...


National Museum of African American History and Culture


U.S. Marine Corps Sunset Parade


Hope you enjoyed this trip to DC through my camera lens. Will be back with a new project soon!

Monday 27 July 2015

Going Fractal With AGF Stitched

Welcome to the Fractal Blog Hop hosted by the Fat Quarter Shop and sponsored by Art Gallery Fabrics! The Fat Quarter Shop provided the free Fractal Quilt pattern and a great video tutorial and Art Gallery Fabrics provided the eye candy. Oh, and the Fat Quarter Shop has a Fractal Quilt Kit too!

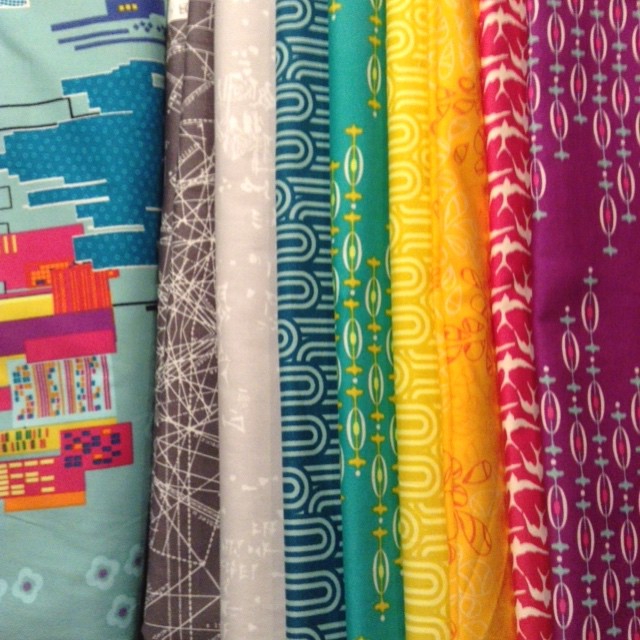
For my version of the quilt, I picked out fabrics from Frances Newcombe's Utopia line, from Katarina Roccella's Indelible line (Spirodraft Carbon), and from Katarina's Recollection line (Cuneiform Script Cast). It's not a great photo, but I love, love, love how these fabrics play together!

Just a wee bit excited to start playing with these fabulous fabrics! @fatquartershop @artgalleryfabrics

The Fractal Quilt Pattern uses Y seams. Yeah, I know what you are thinking because that's what I thought. Y seams? Usually, it's a no thank you, but the pattern looked so fun that I had to give it a try. Conquer my fear of Y seams, I must!

The pattern uses the Creative Grids Kites Plus template ruler. It was the first time I'd used that template ruler shape for making Y seams and I have to say that I was pretty impressed. The Creative Grids template has a little hole in the ruler where you can mark your 1/4" seam. 

It worked beautifully. Look that that Y seam! :D

Y seams. Me?! Yes!

And that join! 
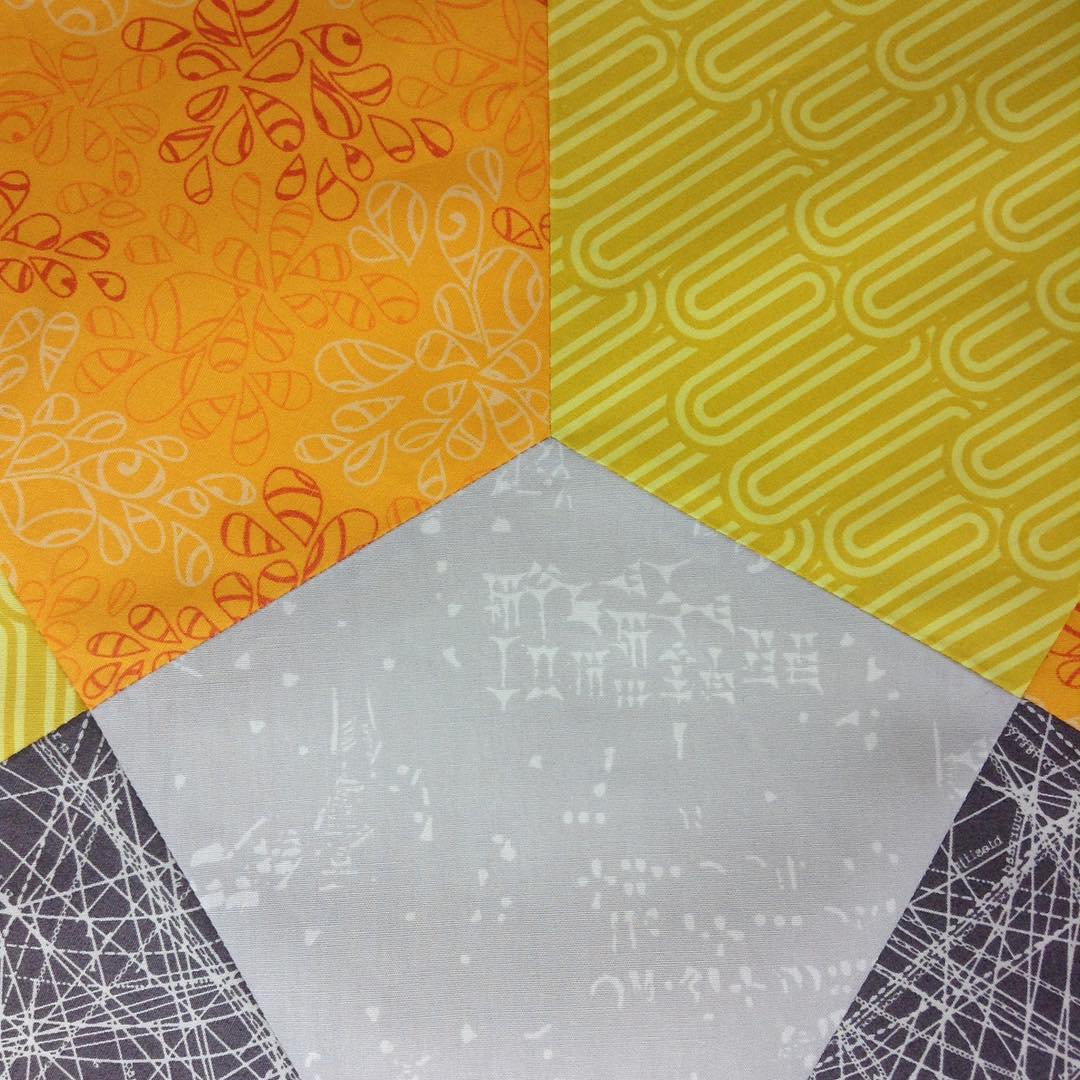


The centres aren't all that perfect, but most of them are. Woo hoo! Happy dance!
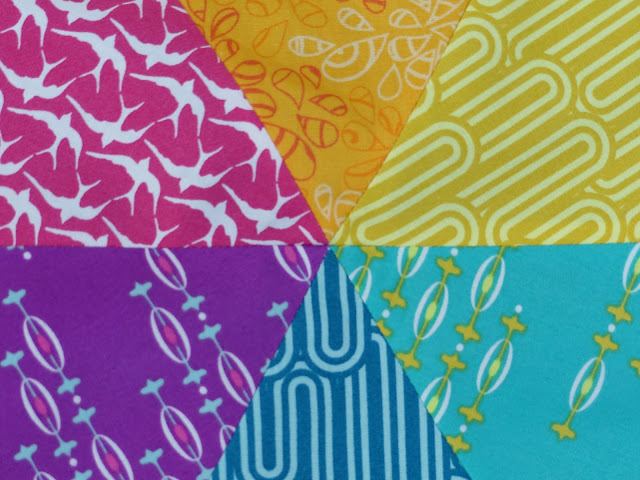
Despite my vow to 'stick to the pattern', I took a little detour. I decided to do three by three colour wheels and used more of the Spirodraft Carbon for the background. I think the Spirodraft is perfect for the background. 


I also decided not to add pieces to square up the corners of the quilt. I think that will be a first for me.


And there's my little helper trying to hold it up to show the full top. The top finished at 73" by 54" - a great large throw quilt.


Since I changed up the layout of the front, I wanted to use the 'leftovers' for the back with this Utopia print.


This was like putting together a puzzle and I'm very pleased with how it turned out. 


The top and backing layered...


Wouldn't it be fun to do a spirograph-style quilting on this? I have a few fun ideas for the quilting so I better get cracking!

Check out what the other participating AGF Stitched bloggers have done with this pattern:

Katarina Roccella
Erica Jackman of Kitchen Table Quilting
Christina Lane of Sometimes Crafter
Natalia Bonner of Piece N Quilt
Riane Menardi of Vessel Quilts
Afton Warrick of Quilting Mod
M-R Charbonneau of Quilt Matters (oui, c'est moi!)
Jess Frost of The Elven Garden
Caroline Hulse of Sew Caroline
Rachel McKeeman of The Floral Suitcase

I can't wait to see what they did with it!

Oh, and Y seams? No more fear, baby! :)

Thursday 16 July 2015

TGTTIF! - Bubbles

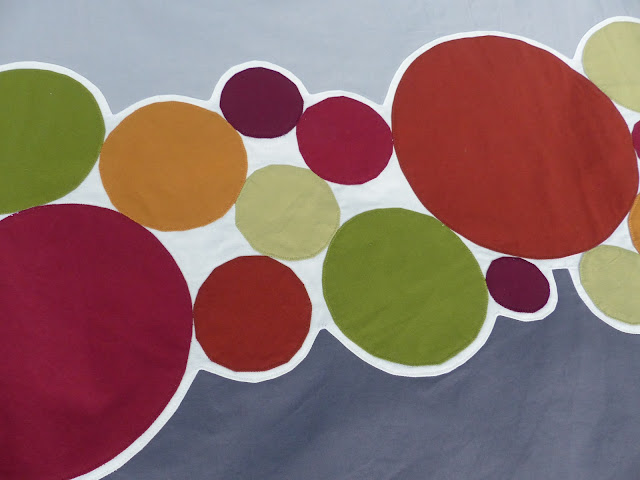
It may not be completely finished and it may look simple, but getting this top finished feels like a huge accomplishment -- so I'm celebrating Thank Goodness The Top Is Finished! Yeah, yeah, I know,  it's not really a true TGIFF!, but we had an unexpected opening in our TGIFF! host schedule this week, so you get me and you get this quilt top. :)

So where were we? Oh yes, way back last summer, I started a baby quilt for my friend's new baby. It was all going smoothly...until it wasn't.

Because it is a baby quilt and will be washed frequently, I had a few criteria for it. These aren't "rules" or anything, but they were my criteria for making this quilt:
  • The circle edges had to be clean, not raw.
  • I didn't want to hand appliqué the circles down because it took too long (the irony of this is not lost on me, trust me) and doesn't wear well. 
  • I didn't want the edges of the circles to be satin stitched.
I was going to use interfacing to get clean edges, but I've done it before and the white interfacing showed along the edges. I didn't want that to happen again. And so it sat...stumping me...and then life got crazy. 

Well, young Malcolm is coming up on his first birthday soon -- how is that possible?! -- so it's time for this quilt to be finished and get cuddled. I put on my big girl panties and did the interfacing trick again, but this time, I paid more attention to hiding the interfacing when I pressed it. It also helps that the background for the circles is Kona Snow so if any interfacing does peek out the sides, it will blend.


I was also worried about the edges of the circles shifting as I did a tight zigzag stitch around them so I used a glue stick and pins. It worked! Bye, bye creative block!

I'm so very pleased with how this top turned out. I started quilting it too. 


Think I'll finish it before Malcolm turns one? 


Related Posts Plugin for WordPress, Blogger...